

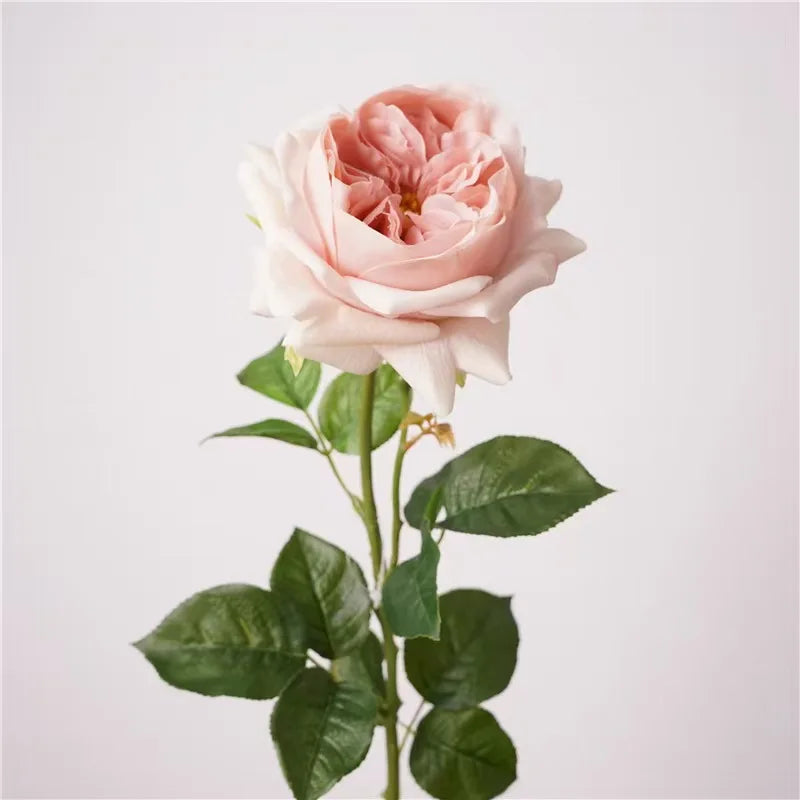
Real-touch florals have completely transformed the world of wedding décor. Unlike traditional silk flowers, real-touch blooms are crafted from high-quality latex and foam materials that mimic the look, feel, and even the weight of fresh flowers — without wilting, dying, or requiring water. If you've been curious about creating your own DIY floral arrangements for your wedding, this beginner's guide is for you.
Why Choose Real-Touch Florals?
Fresh flowers are beautiful, but they come with limitations: they wilt in heat, have a short lifespan, and must be arranged close to your wedding date. Real-touch florals solve all of these problems. Here's why brides and event planners love them:
- No timing pressure: You can assemble your arrangements weeks before the wedding day.
- Budget-friendly: Real-touch florals are a one-time purchase — no florist labor costs.
- Keepsake quality: Your bouquet and arrangements last forever as a wedding memento.
- Travel-safe: Perfect for destination weddings where transporting fresh flowers isn't practical.
What You'll Need to Get Started
Before you begin arranging, gather the following supplies:
- Real-touch floral stems (roses, peonies, ranunculus, and greenery are great starting points)
- Floral wire and floral tape
- Wire cutters or sturdy scissors
- A vase, vessel, or foam base for your arrangement
- Hot glue gun (optional but helpful for securing stems)
- Ribbon or twine for bouquets
Step-by-Step: Building Your First Arrangement
- Choose a color palette first. Select 2–3 primary bloom colors and 1–2 greenery varieties. This keeps your arrangement cohesive and avoids a cluttered look.
- Start with your focal flowers. These are your largest, most prominent blooms — typically roses or peonies. Place them in the center or at varied heights to create depth.
- Add secondary flowers. Smaller blooms like ranunculus or spray roses fill in gaps and add texture around your focal flowers.
- Layer in greenery. Eucalyptus, fern fronds, and ivy add a natural, organic feel and help the arrangement look full without being crowded.
- Fill in the edges. Use wispy accent pieces like baby's breath or small berry sprigs to soften hard edges and create a lush, finished look.
- Secure and trim. Once you're happy with the arrangement, trim all stems to the same length if using a vase, or bind them with floral tape and ribbon for a handheld bouquet.
Tips for a Professional Finish
- Vary stem heights rather than cutting everything the same length — this creates natural dimension.
- Work in a spiral pattern when building a bouquet: add each stem at a slight angle, rotating the bunch as you go.
- Step back and assess from a distance frequently. What looks sparse up close often looks full from a few feet away.
- Mist completed arrangements lightly with a floral spray or gloss coating to add a lifelike sheen.
Where to Use Your DIY Arrangements
The beauty of real-touch florals is their versatility. Use your creations as:
- Bridal and bridesmaid bouquets
- Ceremony arch or backdrop décor
- Table centerpieces and bud vase clusters
- Cake table or sweetheart table accents
- Aisle markers and chair decorations
Browse our Centerpieces & Stands and Swags & Backdrop Décor collections for real-touch stems and pre-made arrangements to kick off your DIY project.
Need Custom Help?
Not sure where to start, or looking for a fully custom arrangement? We're happy to help. Reach out to us and tell us your vision — we'll guide you from inspiration to a finished look you'll love.


